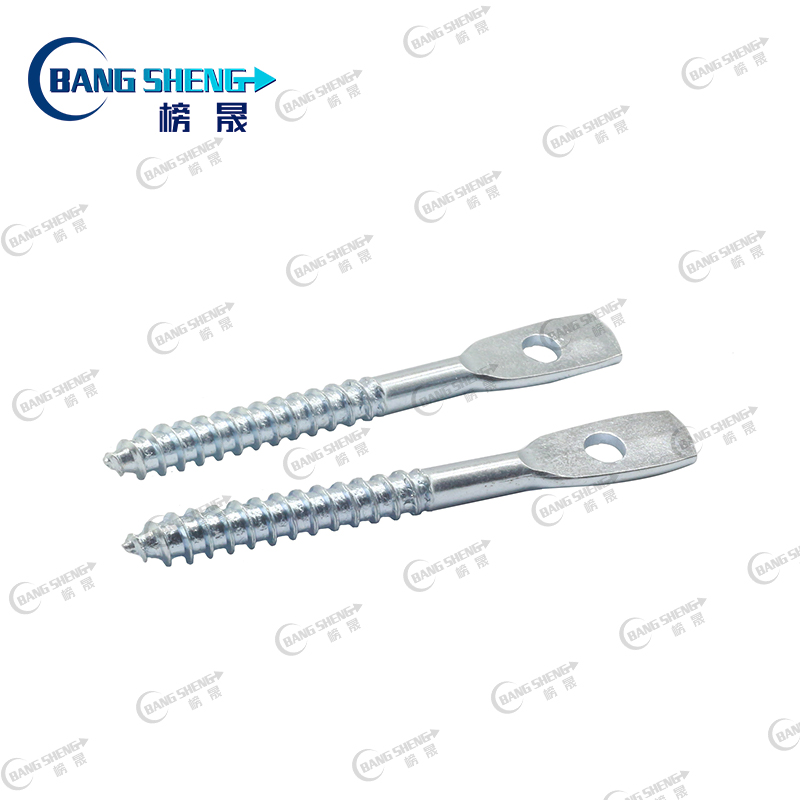
Wood Eye Lag Screw Installation Tips Revealed
When installing Wood Eye Lag Screws, mastering the correct, scientific steps and practical tips can make the whole installation work twice as easy, just like a pair of wings for the installation process.
The first step is to select the drill bit that precisely matches the diameter of the screw, which is like finding the right hole for the key. Drilling pilot holes in the wood is a simple but crucial step. Pilot holes minimize the risk of the wood cracking during screwing, just as loosening the soil before planting a seed on hard ground allows the seed to grow better. It creates a safe pathway for screws to be screwed in smoothly, ensuring that the installation process can go smoothly and avoiding failed installations or structural damage caused by cracked wood.
Next, using a wrench or power tool, screw the screws into the pilot holes slowly and evenly. Be sure to keep the screws perpendicular to the surface of the wood during the screwing process, which is as critical as making sure the foundation is level when building a house. If the screws are tilted, they may not be screwed in completely, or if they are screwed in, the solidity of the connection may be compromised, making the entire structure much less stable.
To further improve the smoothness of the installation, apply an appropriate amount of lubricant to the screws, such as butter or a specialized screw lubricant. The lubricant, like the oil in a car engine, effectively reduces the friction between the screws and the wood, making the installation process easier and smoother. It reduces the force required to screw in the screws, reduces wear and tear on the tools, and prevents damage to the wood and screws from the heat generated by too much friction. However, it is important to note that the amount of lubricant used should be moderate; too much may affect the tightening effect of the screws, while too little will not achieve the desired lubrication. At the same time, strict attention should be paid to controlling the torque to avoid damage to the wood caused by over-tightening. Generally speaking, in accordance with the product instructions clearly labeled torque requirements for operation can be, these data are professionally tested and verified to ensure the quality and safety of the installation.

